

Introduction
In Part 1 of this mini blog series I talked about how the Automation environment was configured.
AVD Deployment and Update – Part 1 Building Automation – TigheTec Cloud Consulting
This included the various Azure DevOps resources and the Packer and PowerShell scripts used to deploy and update Azure Virtual Desktop.
With the main configuration out of the way I will now walk through a new build process using this automation.
Set Deployment Variables
As this is a new deployment, we need to create all resources (Workspace, Host Pool etc) as well as creating the required Session Host VMs.
The end result will be a fully functioning AVD environment from nothing!
Therefore, we need to first amend the deployment variables to run as a new AVD deployment.
Navigate to Pipelines > Library > AVD – Selectable Variables
Therefore, we need to change the AVD – Selectable Variables as shown below:
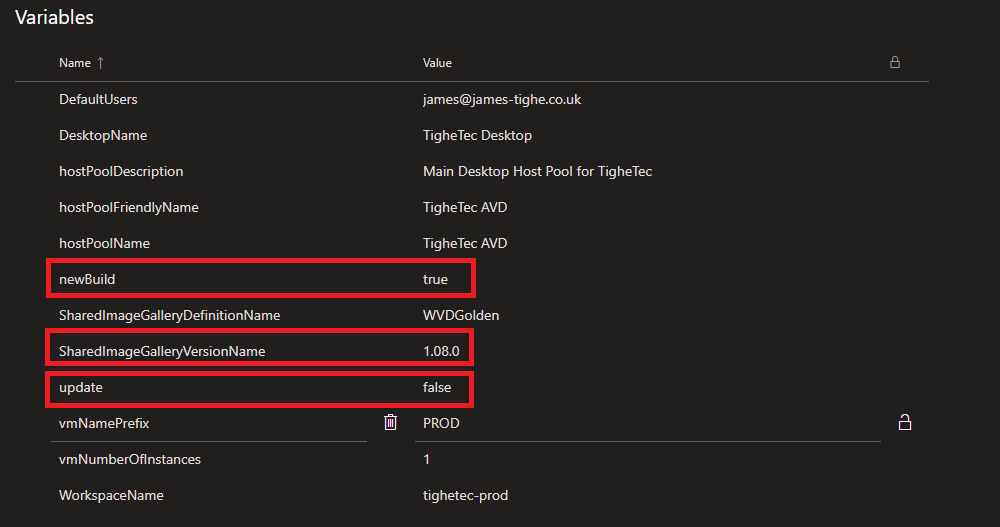
newbuild = This variable must be set to true for a new build. This ensures the AVD components are correctly created and that Session Host VM numbering is correct.
SharedImageGalleryVersionName = This needs to be set to the require image version to be used for the new build. This can be obtained from the Azure Portal. This is the image that will be used to provision the Session Host VMs.
update = This variable needs to be set to false as this is a new build and not an update for an existing Host Pool
This ensures the deployment will be dealt with as a new build. Using the AVD image version 1.08.0
Once we have set the required variables, we need to trigger the deployment.
Trigger Deployment Release
Now the variables have been set correctly, we simply need to set off the deployment.
The deployment of a new AVD environment consists of the following tasks:
- Create new AVD Workspace, Host Pool, and Desktop Application Group
- Deploy the required number of Session Host VMs
- Perform language option customization
- Join Session Host VMs to the required AD Domainc
- Register new Session Host VMs to the AVD Host Pool
- Assign default users to Application Group to allow connections for required users.
All these tasks are handled by the Pipeline Release TigheTec AVD – Prod. We need to now create a new release to trigger the deployment, using the variables we set previously.
Create Release
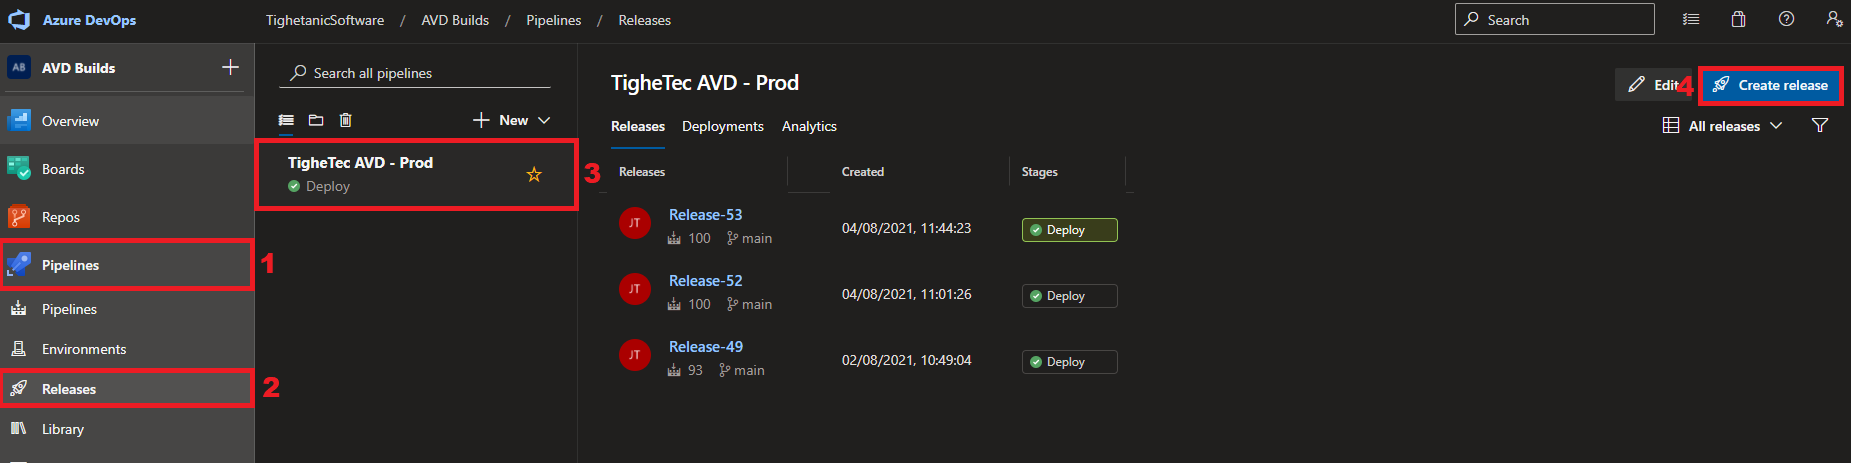
Navigate to Pipelines > Releases > TigheTec AVD – Prod and click Create Release
Then click Create.
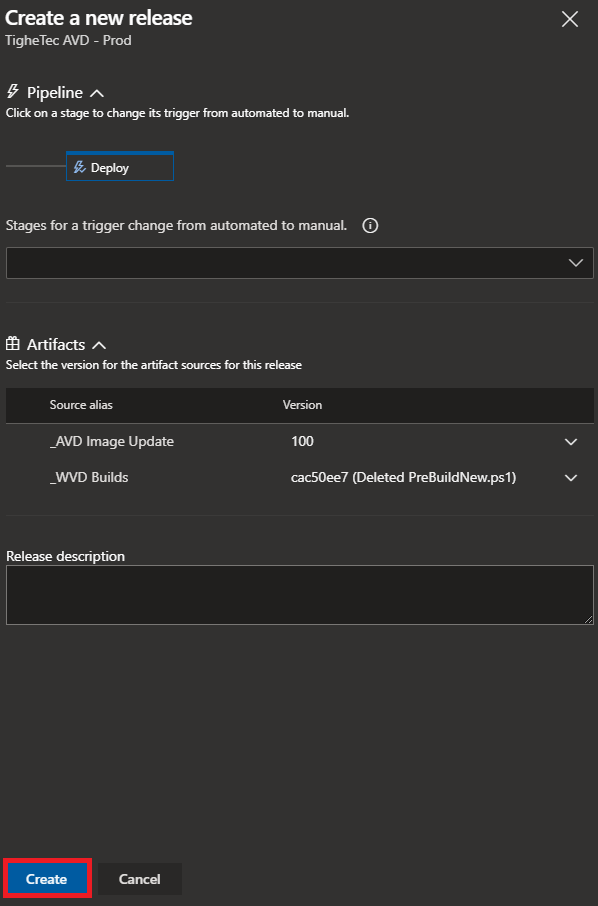
You will then see that the release has been queued.

Click on the release name to view the progress.
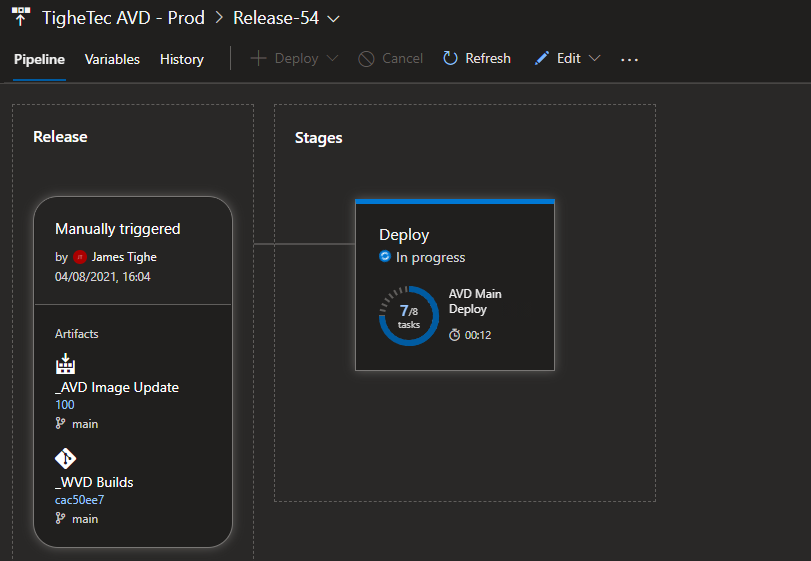
The release will now run. It will run through the various tasks to complete the deployment.
This process can take between 20-40 mins depending on the amount of Session Hosts being deployed.
Once completed the Release Status will change to Succeeded as below.
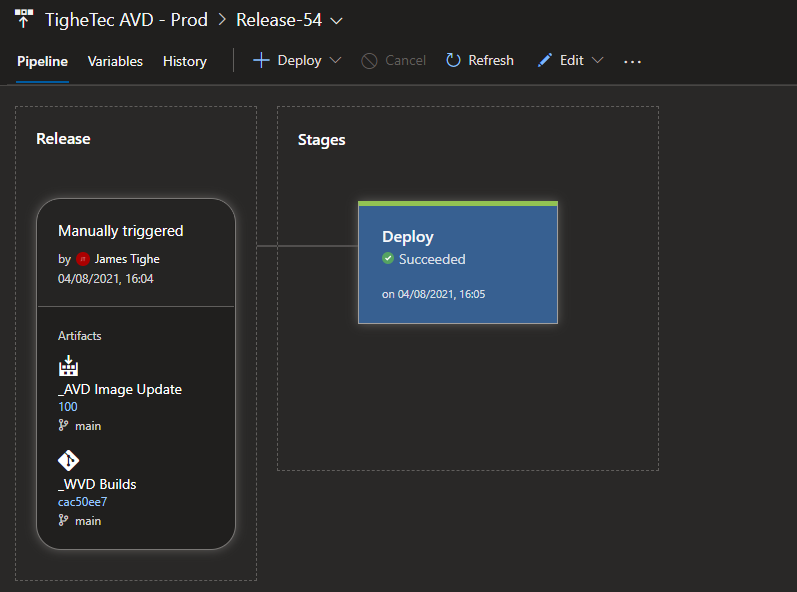
At this point the new AVD environment should be fully deployed.
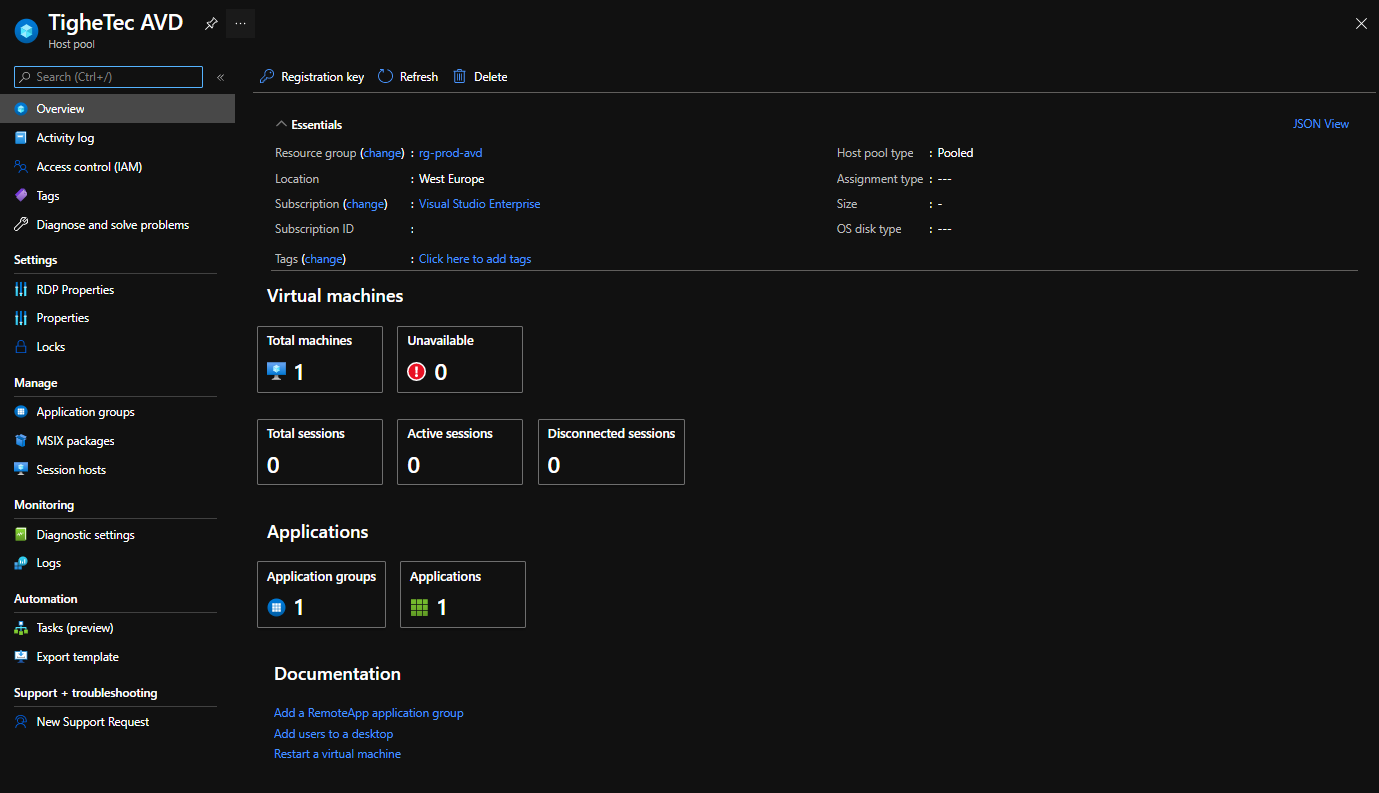
This will include the creation of the Workspace, Host Pool, Desktop Application Group, User Assignment, and creation of Session Host VMs.
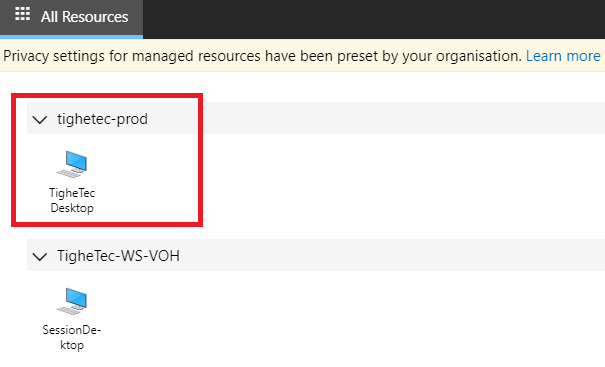
The new platform should now be ready to access:

In the next part of this mini blog series I will be showing how this automation can be used to automatically update the existing AVD Golden image with Windows Updates, then deploy new Session Host from this updated image.
Until next time!
