

It is finally here! (Well in Public Preview at least. The new WVD Optimized Teams configuration!
A lot of people were hesitant to move onto WVD with the limitations of Teams (poor AV quality and substantial lag for video), as in the current COVID-19 climate Teams video calls over WVD are becoming more needed than ever.
Up until recently the only supported Teams VDI optimization was via Citrix, which was no help to anyone who had invested in Microsoft’s new WVD environment.
But now finally WVD Optimized Teams can be tested, and I can state that it is worth the wait.
The new Teams offering is a Machine-Wide installer (to suit the WVD platform) and installation of the WebRTC client to enable media optimization when operating through a WVD environment. The technology is referred to as AV Redirection and allow much better lag free video from within the WVD environment.
So without further ado lets get started!
Installation
In order to get this running there are few steps that are required:
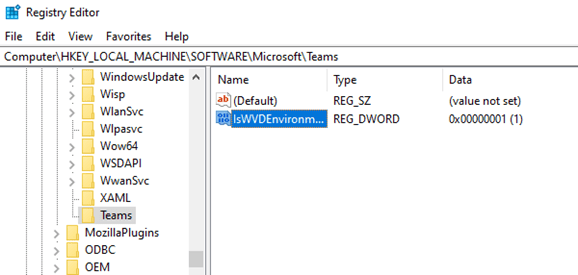
Firstly we need to prepare the machine to be able to install the WVD Teams installation. To do this we need to add a Registry Key that the installer will check for to confirm it is being installed on a WVD server.
Open Regedit and browse to HKEY_LOCAL_MACHINE\SOFTWARE\Microsoft
Then create a new Key called Teams
Add a new REG_DWORD with the name IsWVDEnvironment and the value of 1
Next we need to download the relevant Teams Installer from Microsoft
64-Bit Installer
32-Bit Installer
Teams must then be installed via command line using MSIEXEC to set the required settings.
Open CMD as Admin and run
msiexec /i <msi filename> /l*v <logfile name> ALLUSER=1 ALLUSERS=1
Teams should now be installed!
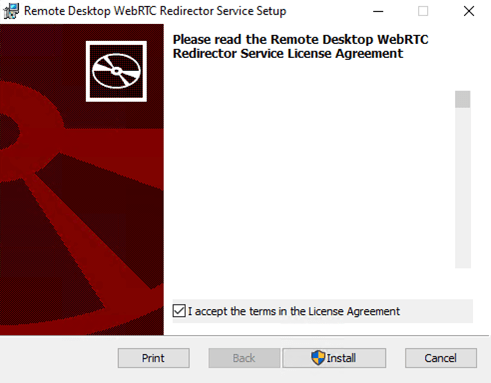
We now need to install the WebRTC Redirector Service. Grab it from the link below:
Download and run the installer, accepting the license terms.
Edit: In case you get any issues when installing the WebRTC Installer (particularly unable to start service) then you may need to install the Visual C++ Redistributable. Find both 32-bit and 64-bit installers below:
vc_redist.x64.exe
vc_redist.x86.exe
Test Functionality
Now Teams has been installed we need to check that it is indeed working correctly.
First we need to ensure that the relevant RDP Settings have been configured for device redirection.
Spring 2020 – RDP Settings
If you are using the Spring 2020 update then you simply need to switch on the Audio Input option within the RDP Settings of the Host Pool

Fall 2019 – RDP Settings
If you are using the Fall 2019 update then you will need to manually add the relevant settings via PowerShell as below:
Add-RdsAccount -DeploymentUrl "https://rdbroker.wvd.microsoft.com"
Set-RdsHostPool -TenantName <Tenant Name> -Name <Hostpool Name> -CustomRdpProperty "audiomode:i:0;audiocapturemode:i:1; camerastoredirect:s:*;devicestoredirect:s:*"
Once we have confirmed the device redirection is in place, login to WVD.
You will need to ensure you are connected to the machine via the Remote Desktop client NOT the Web Client.
Also ensure you are running AT LEAST version 1.2.1026.0 of the Microsoft Remote Desktop client found below:
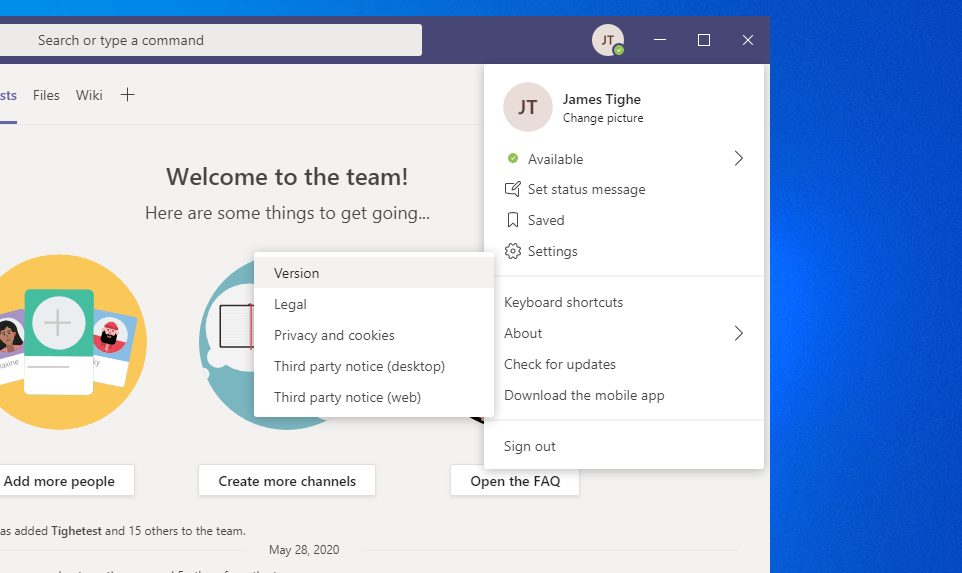
Next, open the Teams client.
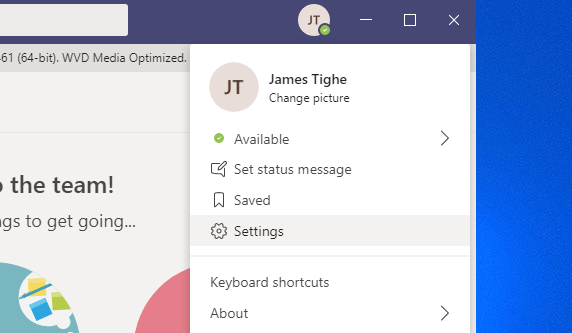
Click on your Profile Image then select About > Version
If the installation has been successful you should see a banner with WVD Media Optimized
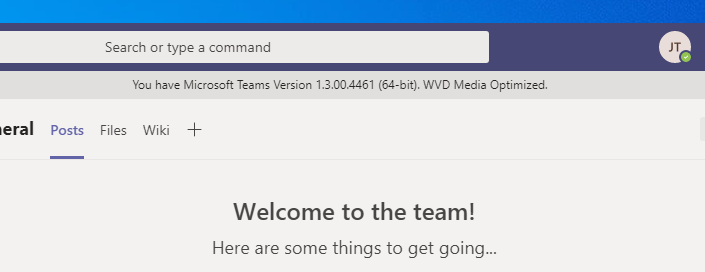
If you see WVD Media Not Connected then it is likely the Device Redirection is not setup correctly so I would advise that is checked.
The final check is to ensure the camera and remote audio devices are showing. So again click your Profile Image and then select Settings
Under Devices tab you should see all remote devices and more importantly your camera!
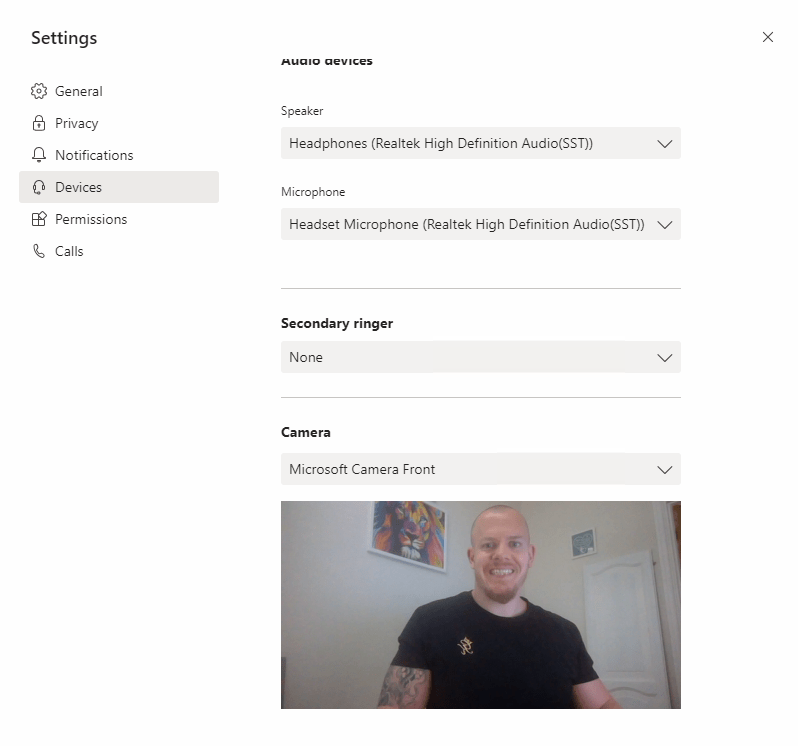
And there we have it Teams with AV Redirection installed on a WVD environment.
James
